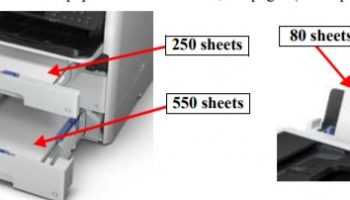
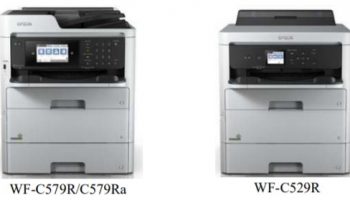
– To know more about Epson WF-C579, WF-C529 Operating Principles, click here
– To know more about Installation on Epson WF-C579, WF-C529, click here
Connect Wi-Fi for Epson WF-C579, WF-C529
How to set wireless LAN
STEP 1. Switching to the access point settings screen
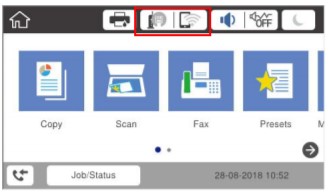
- 1-1.Switch the panel to the Home screen.
- 1-2.Tap the network icon.
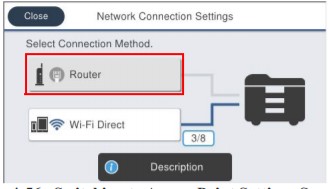
- 1-3.Tap “Router”.
- 1-4.Tap “Start Setup”.
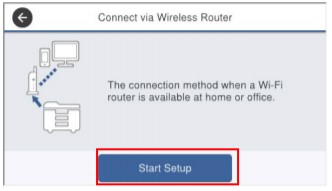
STEP 2. Setting the SSID
- 2-1. Tap “Wi-Fi Setup Wizard”.
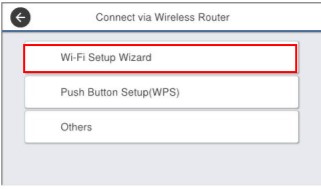
- 2-2. Wait until the access point is found.
- 2-3. Select an SSID.
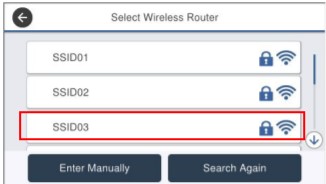
- 2-4. Tap “Enter” of Enter password.
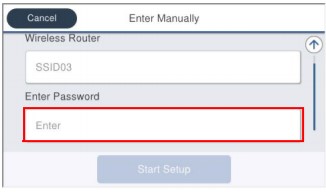
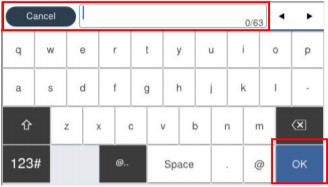
- 2-5. Enter a password and tap “OK”.
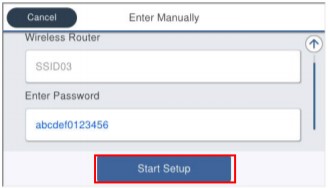
- 2-6. Tap “Start Setup”.
- 2-7. Wait until the setting is completed.
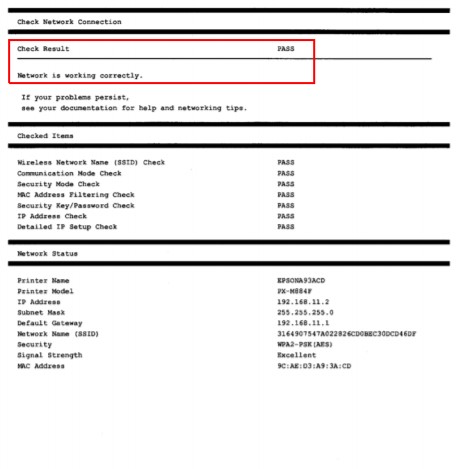
- 2-8. When a message for printing the diagnosis results appears, press the [Print] button and make sure that the diagnosis results is OK.
Connect Wired LAN network for Epson WF-C579, WF-C529
STEP 1. Connecting a LAN cable
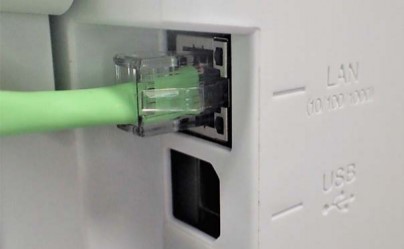
- 1-1.Connect a LAN cable.
STEP 2. Checking the network icon
- 2-1.Check that the network icon is for a wired connection.
![]()
– Epson WF-C579, WF-C529 IP address Settings, click here
– Epson WF-C579, WF-C529 set static IP address, click here
CAUTION:
When setting an IP address with DHCP
You can choose to set DNS server automatically or manually.
If an IP address is set manually, DNS server is for manual setting only. Proxy server setting is performed in the other screen.
When changed the setting such as IP address, make sure to save the settings before switching the screen.
– Setting the DNS server for Epson WF-C579, WF-C529, click here
– Setting a proxy server on Epson WF-C579, WF-C529, click here
