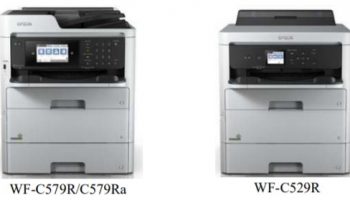
– To know more about Epson WF-C579, WF-C529 Operating Principles, click here
– To know more about Installation on Epson WF-C579, WF-C529, click here
CAUTION before setting network on Epson WF-C579, WF-C529:
- When configuring the network settings, make sure there is no physical connection.
- The settings will not be able to be configured if the combination of network addresses is incorrect.
- Wireless communication and wired communication cannot be used together.
Switching to the network settings screen
STEP 1. Switch the panel to the Home screen.
STEP 2. Tap the network icon.

STEP 3. Tap “Description”.

STEP 4. Tap “How to change an IP address”.

STEP 5. Tap “Settings”.

STEP 6. Check that the Advanced Settings screen is displayed.

– Epson WF-C579, WF-C529 Set the date, time and Ink Filling, click here
– Epson WF-C579, WF-C529 Installation and Ink Settings, click here
How to set an IP address using DHCP on Epson WF-C579, WF-C529
STEP 1. Switching the network address setting method
- 1-1.If TCP/IP is set to “Manual”, tap “Manual”.
")
- 1-2.Tap “Manual” of “Obtain IP Address”.
")
- 1-3.Check that “TCP/IP” is “Auto”.
")
- 1-4.Set the services cooperated.
- When setting a DNS server, refer to Epson WF-C579, WF-C529 Setting the DNS server, click here
- When setting a proxy server, refer to Epson WF-C579, WF-C529 Setting a proxy server, click here
STEP 2. Saving the settings
- 2-1.Tap “Start Setup”.

- 2-2.Wait until the settings are reflected.

- 2-3.Check that the Setup Complete screen is displayed.

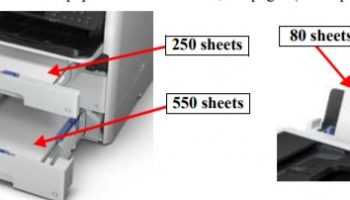
– Epson WF-C579, WF-C529 Paper Loading, Paper Feed mechanism, click here
– Epson WF-C579, WF-C529 Paper Loading, Paper Feed mechanism details, click here